
Skinny Grids with Sharon
Event Details
Scroll to the Bottom of the Listing to Book – Class is 10am to 4pm on Wednesday 25th November.
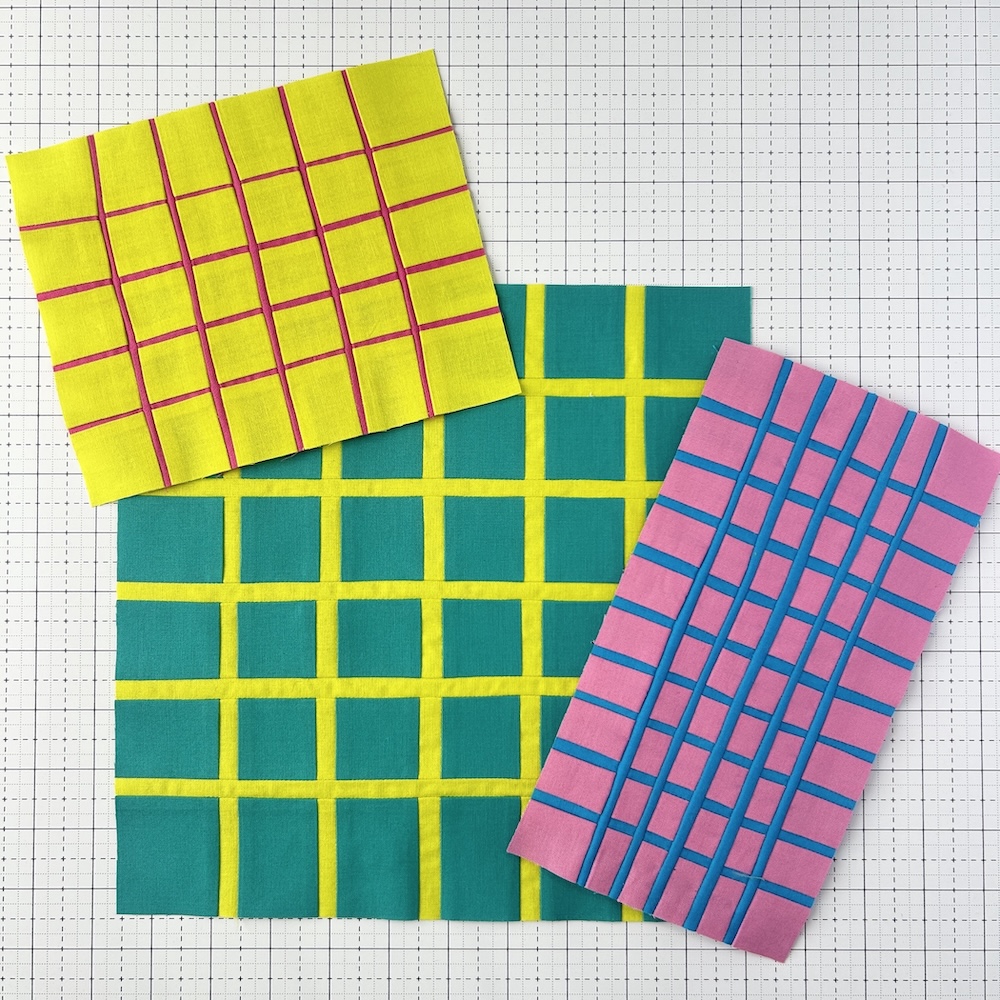
Get ready to rethink how you piece with strips. In this workshop, I teach a technique for incorporating strips or grids in your work. Including my unique method for creating ultra-thin grid blocks—so unexpected it always gets a double take.
This is an, effective, versatile and addictive technique. It can be used in modern and contemporary abstract quilts. However, adventurous ‘traditional’ quilters can often find a way to play with them and use their stash at the same time! Once learned the technique can be used on its own to make a whole composition like the quilt Grid Pages (as pictured below) or combined into a more varied improv work. We will learn:
- Regular Grids with a ¼ inch skinny pieced strip
- Regular Grid with a very skinny 1/8 th inch pieced strip (Or thinner if brave!)
You will leave class with two or more samples of these inset strip techniques. After class you could make cushions, pouches, place mats, bed or table runners or combine them into an improv quilt project. Maybe you have a tub or book of learned techniques to refer to later..? Whatever you do with them, we will have had a fun, low-stress day of sewing and learning some new tricks.
Keep scrolling for workshop requirements below the photographs.
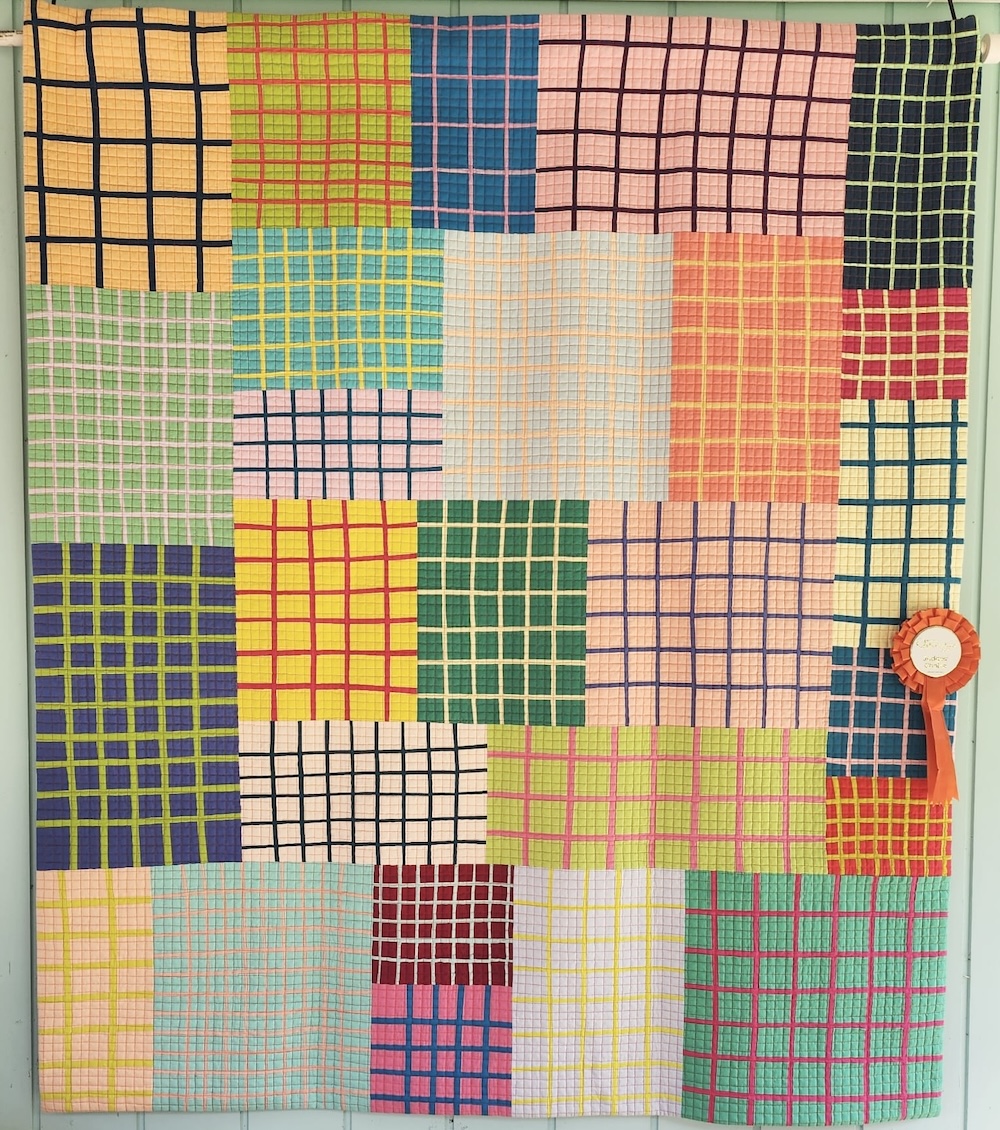
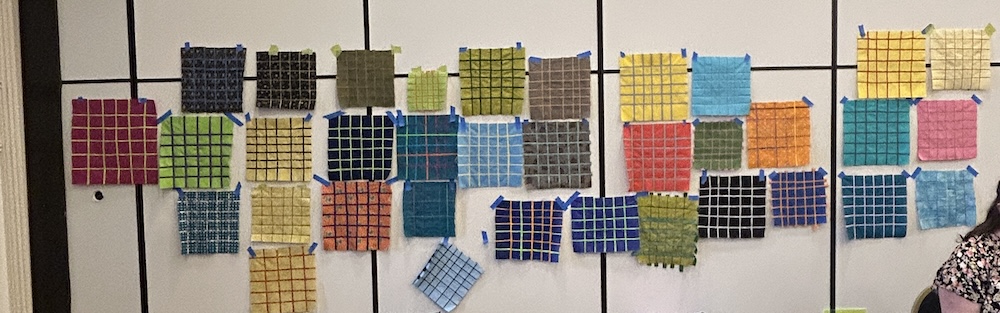
Look at this fantastic varied wall of awesome grids completed at Quilt Encounter earlier this year
Please email me if you have any questions: [email protected]
Quilty Supplies Required:
- Rotary cutter with fresh blade.
- 24″ x 6″ acrylic ruler (a shorter one is harder to be accurate across a fat quarter)
- No need to bring a cutting mat. We have a cutting table.
- Patchwork pins. Good quality! Not thick or blunt. I like Clover or Taylor Seville pins.
- Decent size fabric scissors e.g. 6-8 inch to make good big cuts. Snips or embroidery scissors are too small.
- Good quality 50wt sewing thread or threads such as Aurifil Mako 50 in a neutral, e.g. mid grey, to use on your chosen fabrics. Note: 50wt is normal piecing weight you’re probably already using this for your piecing. Email me if you’re not sure.
- A chalk marker or washable fabric marker that will show up on your fabrics. You will be marking on the right side, so it needs to be washable or removable. e.g. Clover Water Soluble Pencil, Sewline Trio or Sewline Duo or Styla erasable markers.
- Sewing machine in good working order with a fresh 80/12 Universal or Microtex needles. 1/4inch foot and/or universal foot. We need at least one foot WITHOUT a metal seam guide down the side. Don’t forget your power cords, foot pedal and instructions just in case someone has to help you troubleshoot any machine problems.
- Morning and Afternoon Tea supplied but please bring a sandwich or something for lunch. We are 5 mins drive form Berry town but you won’t want to have to drive in at lunch time.
Fabrics Required:
Exercise One: ¼ inch Skinny Regular Grids
- A fat quarter of solid fabric or fabric that reads as solid. Prints are Ok but super busy prints will be distracting.
- A fat eighth in a VERY contrasting colour. For best results use a solid fabric or fabric that reads as solid
Exercise Two: Even Skinnier Regular Grids. We will be trying skinnier strips with this fabric and the requirements are the same as for the first exercise.
- A fat quarter of solid fabric or fabric that reads as solid. Prints are Ok but super busy prints will be distracting.
- A fat eighth in a VERY contrasting colour. For best results use a solid fabric or fabric that reads as solid
Notes on Fabric Choice for Exercises One and Two:
If you are shopping your scrap stash fat quarters and fat 1/8ths aren’t necessary. We just need at least two large squares or rectangles for the backgrounds e.g. 14” x 14” or 14” x 12”
AND some strips or enough fabric to make 10 x ¾ “ strips per background. The ¾” strips need to be about an inch longer than the background.
If you’re game, you could experiment here with your fabrics: A combo of solids and prints could work but make sure you have good contrast! You could vary the colour of your skinny strips instead of using ten the same. My samples all use two colours but mixing it up is fun.
Optional Prep in advance for Exercises One & Two:
Pre-cut the two squares of solid fabric 14” x 14” and Precut 20 x three quarter of an inch wide strips.
Yes, they’re skinny, being under an inch wide but it is possible. They each need to be about an inch linger than your background square and no need for crazy, time consumingly accurate. Just quick cut ¾ inch strips.
This prep will get you started quickly. If you can’t bring anything pre prepped, don’t stress, you’ll still get the learning you’ll just have to get them cut out first. This is fine with me, not everyone has time to do loads of prep and some people like to be super ready and organised. I can help whichever styler learner/prepper you are. If you come with no requirements we have plenty in the shop.
Recent Comments